Rooftop solar installation process step by step: from site survey to acceptance
You’ve decided to have a solar system installed. What happens next? We’ve explained every stage in simple terms.
Having a solar system installed on your roof is easier than you might think. At Dilsiz Solar, we manage the process from start to finish; all you need to do is make your decision and prepare a few documents.
- Initial consultation and site survey request
You can fill in the site survey request form on our website, request a quote through the app or call us. Your electricity bills for the last 12 months are very helpful in understanding your consumption profile.
- On-site survey
Our team checks your roof’s dimensions, orientation, angle, shading and electrical panel. We use this information to determine the panel layout and system capacity.
- Quote and contract
You’ll receive our itemised quote as a PDF. If you use the app, the quote will appear on your My Account screen; you can accept it with a single tap.
- Application and project procedures
We handle the necessary application, project and paperwork processes under the regulations for unlicensed electricity generation.
- Installation
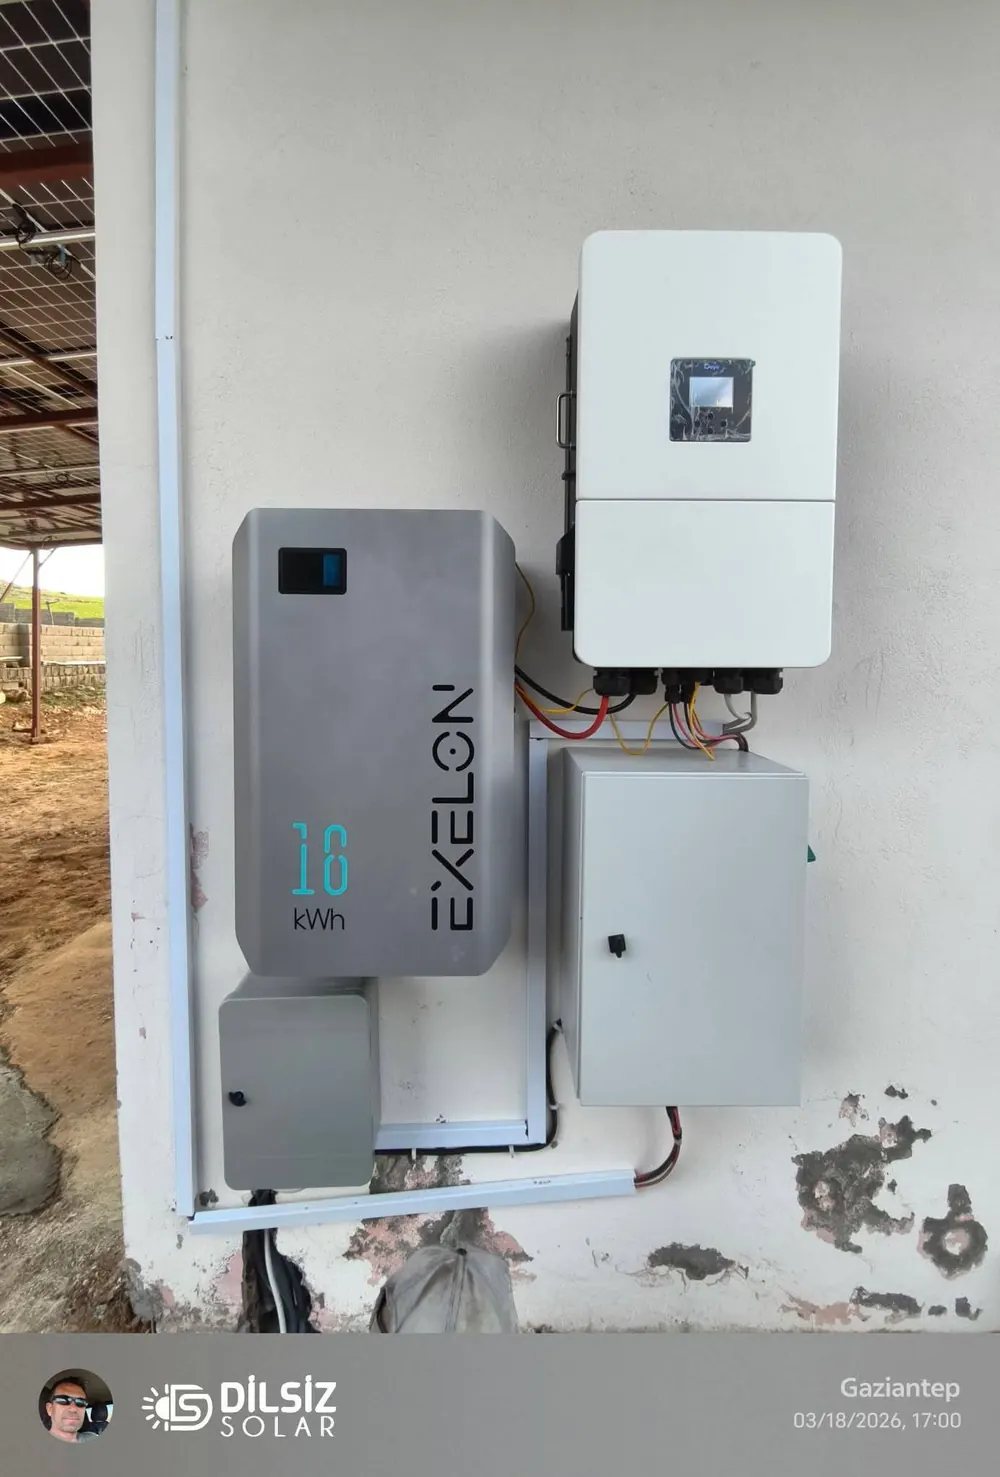
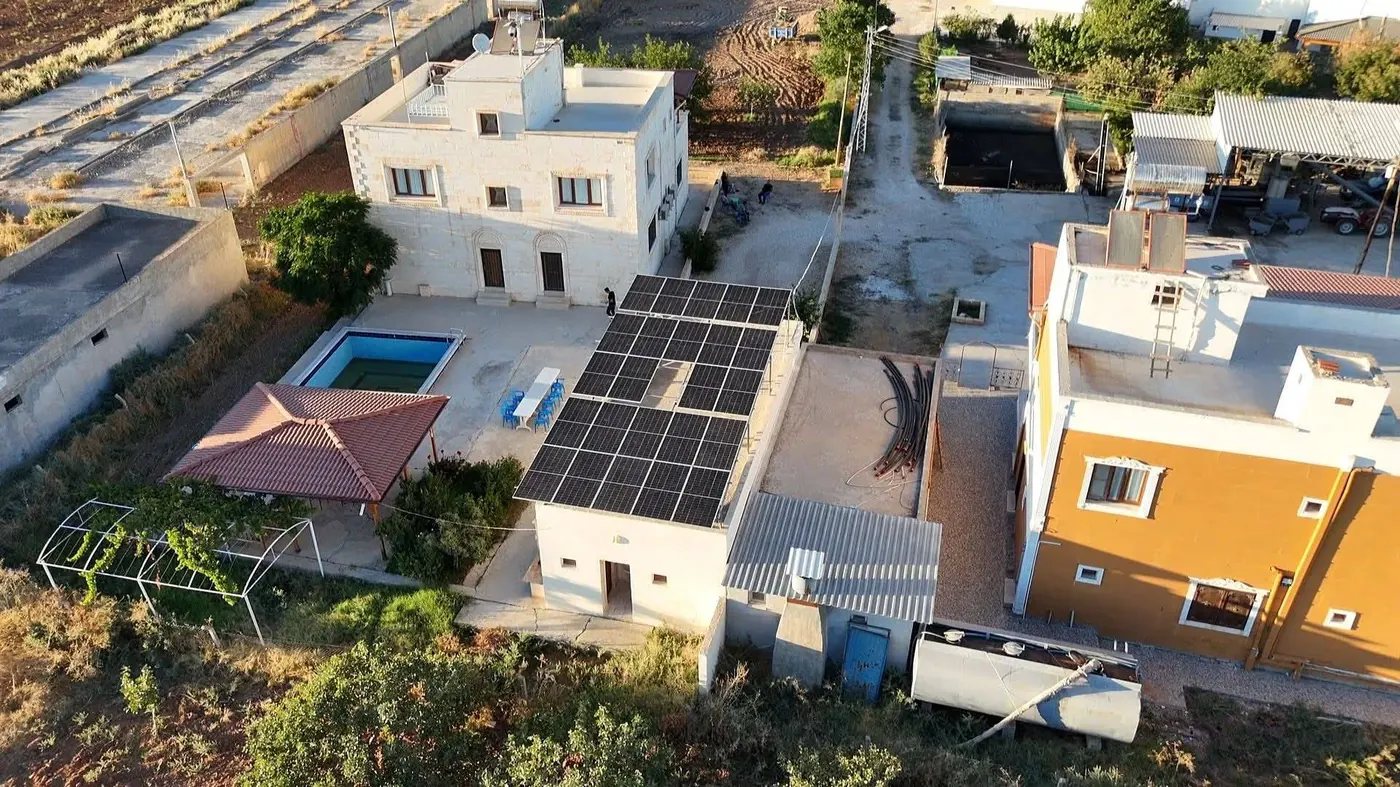
The mounting structure, panels, inverter, cabling and protection panel are installed. Installation on residential roofs is usually completed within a few days.
- Commissioning and acceptance
The system is tested, the relevant authorities’ acceptance procedures are completed, and the system begins generating power. You’ll sign the installation handover form when the system is handed over.
- Monitoring and service
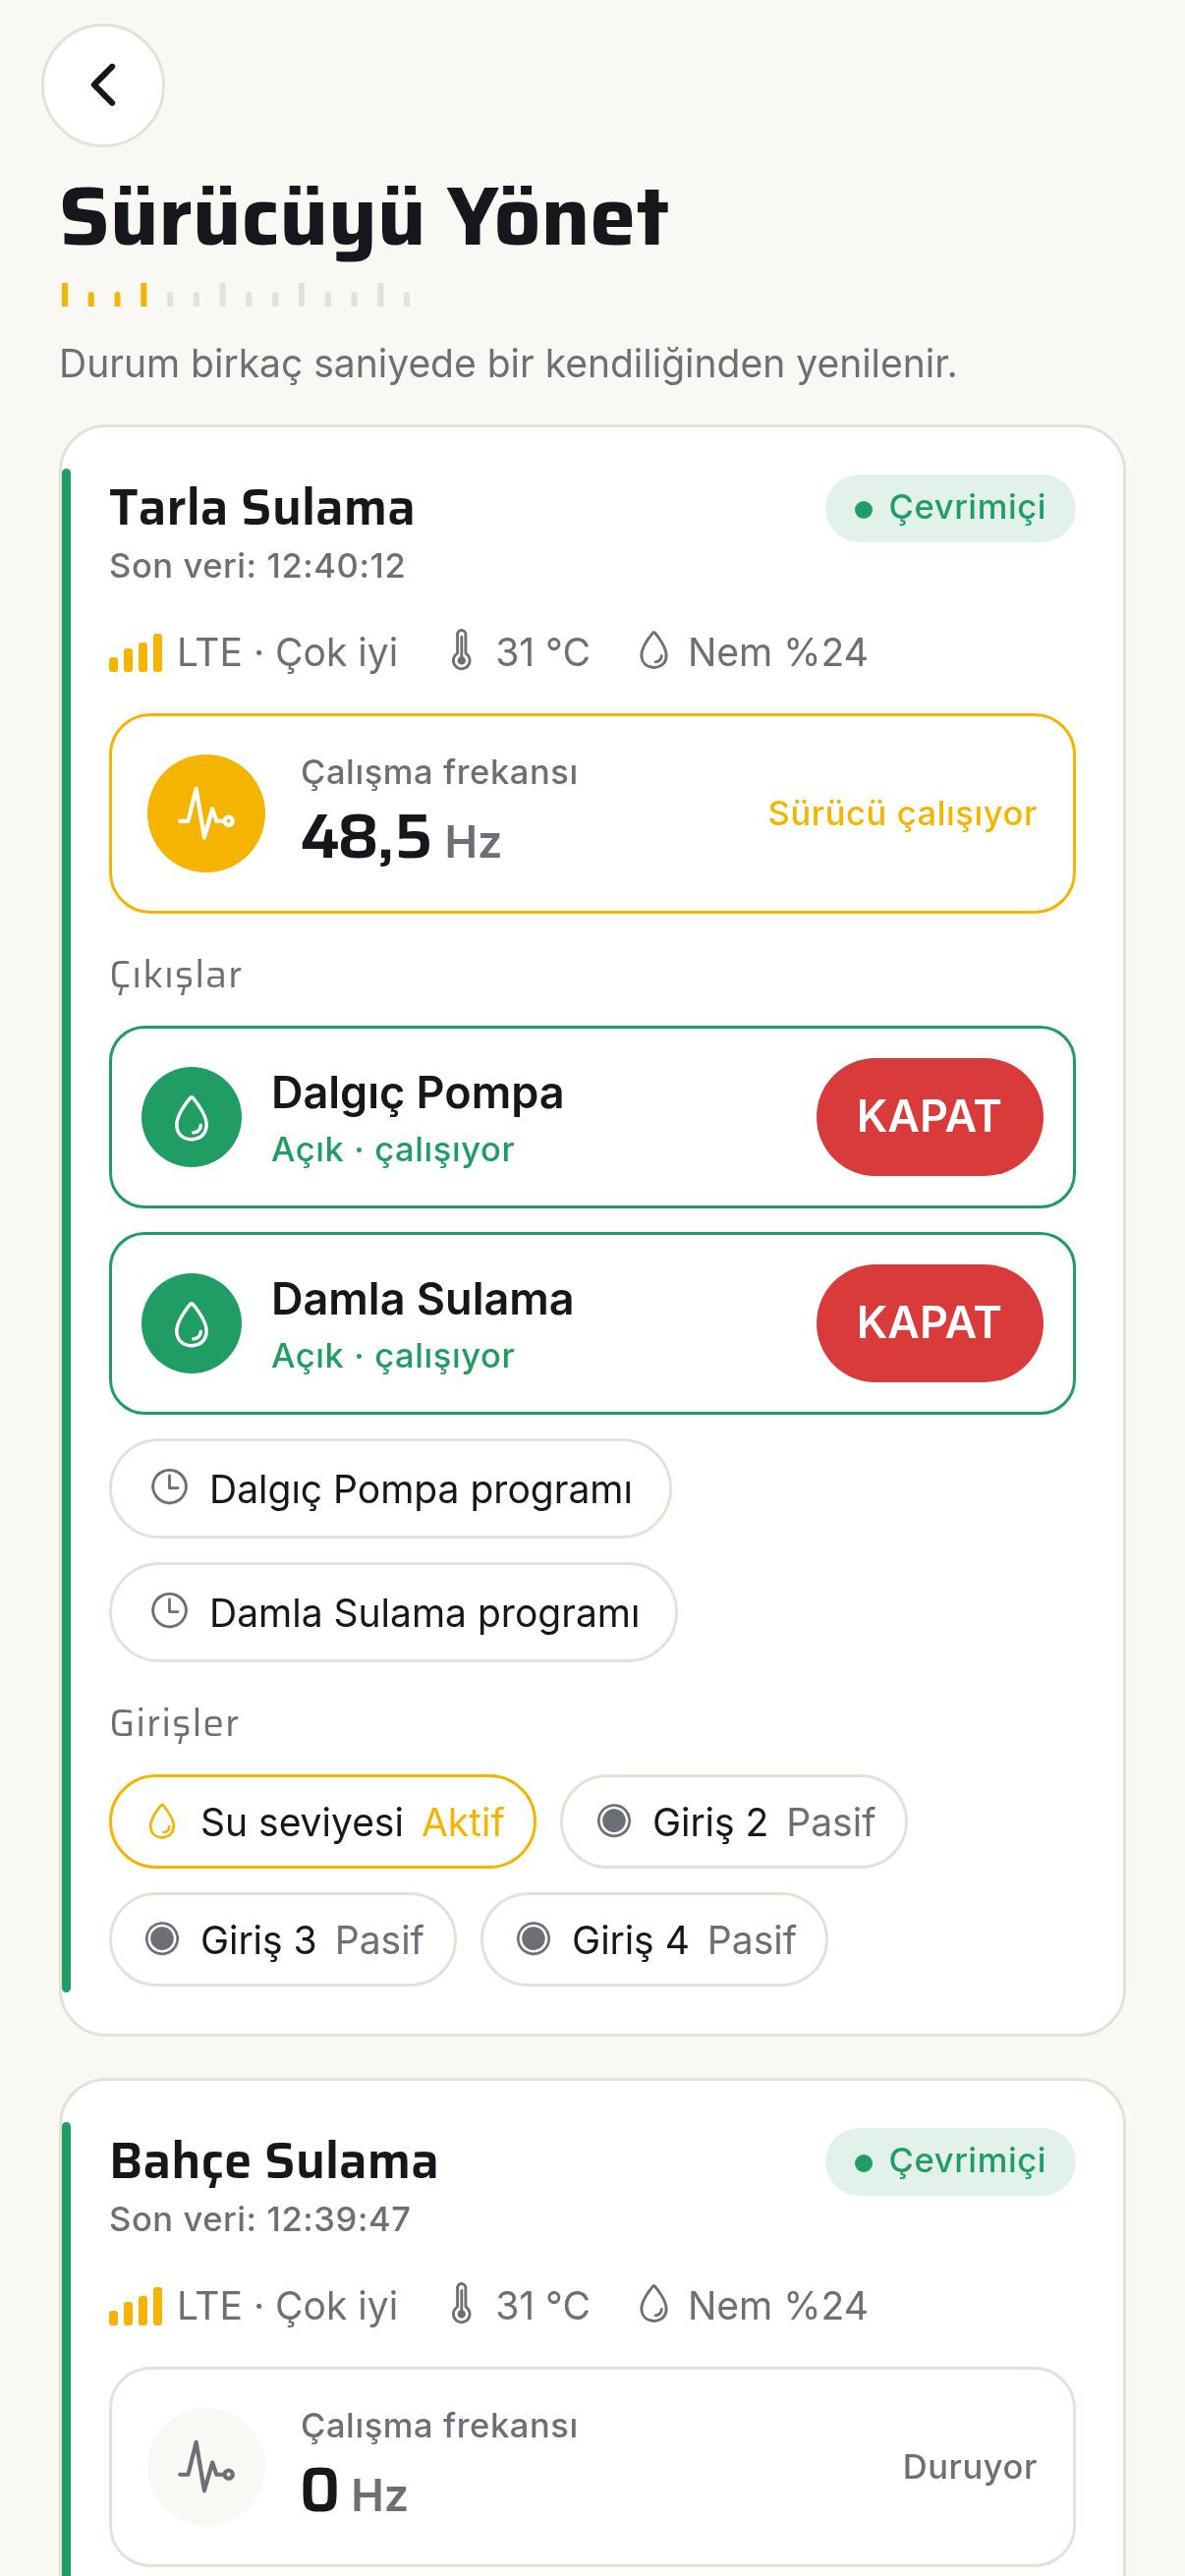
You can monitor your system’s output live through the Dilsiz Solar app. If you have any issues, you can submit a report with photos via the Report a Fault screen.
Every project has different requirements; timelines may vary depending on application volumes and project size. Contact us for a plan tailored to your needs.

21 years of experience in electrical energy and 9 years in solar energy. Based in Birecik / Şanlıurfa, we work with rooftop and ground-mounted solar plants, solar-powered agricultural irrigation, battery systems, maintenance and service.
New articles and announcements arrive as instant notifications in the app.